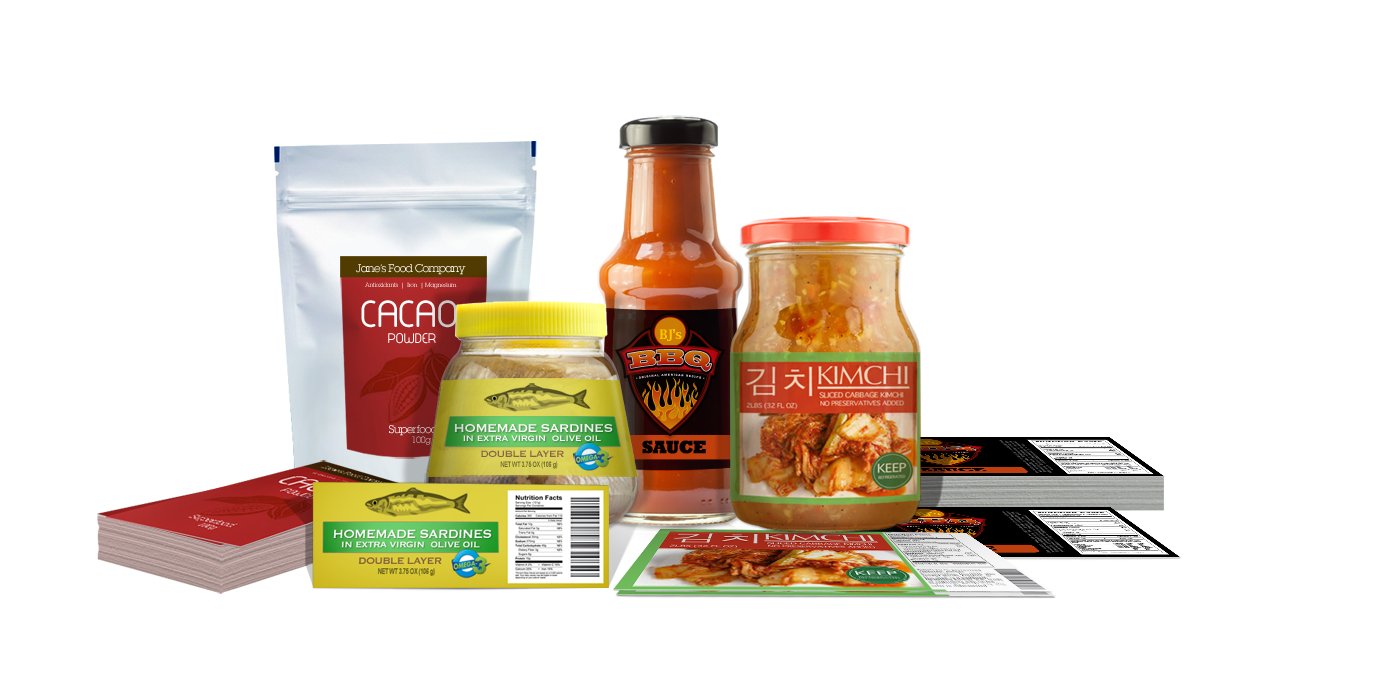
7 Easy Steps on How to Design Custom Labels

Creating custom labels that accurately reflect your brand can often be a challenge. But it doesn’t have to be. With the proper knowledge and tools, designing labels for any project is easier than you think. Here are seven steps that are easy to follow so your label design effectively communicates your message and captures your audience’s attention:
1. Organize the elements in your label’s layout design.
The critical elements of an appealing label design include your logo, product name, slogan, and other information relevant to your customer. For food items, remember to include ingredients and nutrition facts.
When sketching or planning your design’s rough draft, start with these essential parts. From there, you can refine the overall look until you’re satisfied. Feel free to add any other elements that will complement the label’s most essential information.
As you add more parts to the design, you’re likely to remove or revise other parts. To keep it from looking cluttered and visually noisy, aim for balance and symmetry. Having too much going on will overwhelm and turn off potential customers.
2. Consider color schemes that best match your brand identity.
Color is vital in label design because it impacts how customers perceive your product. Selecting a color scheme that aligns with your brand goals and communicates the business’ personality is critical. Still trying to figure out where to start? Consider these tips when choosing colors that align with your branding:
- Use your brand’s color palette as a starting point for your label design. If you don’t have one, check out the colors on your logo, advertisements, and official correspondences.
- Consider the emotions that different colors evoke and choose colors that match your brand’s personality.
- Apply contrasting colors to make essential information, such as your product name or logo, stand out.
3. Pick the right label size for your container.
Customers should be able to read the label’s text so they can understand the product’s essential information. You can achieve this by using legible fonts that are big enough to be seen from afar and are easy to read up close. The Sans Serif family is an excellent place to start. You can also contrast the text and background colors to distinguish important words or phrases.
4. Use white space to your advantage.
White space is an important design element in custom label creation. By optimizing the white space around text, images, and other design elements, you can create a more visually appealing label that stands out among the competition. Use a grid system or make margins around each element for an effective use of white space. Such a tactic separates the elements and creates a clean, organized look for your design.
You can also utilize the white space within the text to make each word or phrase easier to read. This would highlight essential points in your label, such as the product, brand name, or important nutrition facts. Customers can easily find what they’re looking for when scanning for information that will convince them to buy your product.
5. Pick the correct label size for your container.
Think about the container’s type and size when designing your product labels. A label that fits on the container catches consumer attention and increases the chance of a purchase. To achieve this, measure the container dimensions before creating your label design. Based on that, choose sizes that are neither too big nor too small for your container. For example, a larger product might need a more prominent label to convey the essential information. On the other hand, smaller products may require a label smaller than the container to fit well with the packaging. Your final dimensions should promote your product effectively and be easy to apply on the container without compromising the details of your label design.
6. Use the right label stock and coating that matches your product needs.
To make sure labels work well, choose the right stock and coating. Paper is versatile and affordable, but it’s not waterproof, so it’s not suitable for moisture-absorbent products. Vinyl label stock is waterproof and great for things exposed to water or moisture.
The choice of matte or gloss coating affects how the label looks. Matte coating has a subdued and natural effect that works well for organic or handmade brands. Gloss coating looks fresh and slick, which is great for modern and colorful items.
For items exposed outdoors or in places with lots of sunlight, apply the reflective, UV-resistant high-gloss coating. This option lasts longer and holds up against external elements.
7. Review the design’s proof for any corrections before production.
Before finalizing your design, review the proof carefully for any mistakes. Printing companies typically provide customers with an online proof they need to check to ensure their order is ready for printing. Make sure the company you choose makes this option free with every order. Pay attention to their requirements to ensure your label printing experience goes smoothly. Oftentimes they will specify the image resolution and the bleed and trim area around your artwork.
Ensure your image resolution is at least 300 dpi and use the CMYK color mode instead of RGB for accurate printed color. Remember to account for the bleed and trim to avoid cutting essential elements off during printing. Besides the technical details, always double-check your content for errors that you or the printer can change before proceeding with the label’s production.
Personalize Your Branded Custom Labels
Following these seven steps, you can easily create a label design that effectively communicates your product’s essential information and accurately reflects your brand. A distinct label can also boost sales and help establish your brand’s identity in the competitive marketplace.
Explore the standout designs you can customize on PrintRunner. Check out the various options on the label printing page to get a head start on your branded label today.


