


How to Make Stickers: A Fast and Easy Guide
Whether you’re a freelance artist or a small business owner, it’s important to know how to make stickers. The practice of using stickers as promotional tools spans decades and carries on today. Unlike online ads that interfere with your research or reading, stickers are free advertisements that never interfere with a viewer’s personal space.
The attractiveness of each design depends on how you made the sticker itself. In this post, I’ll be sharing a guide on how to make stickers using Publisher.
How Do I Make Different Stickers on One Sheet?
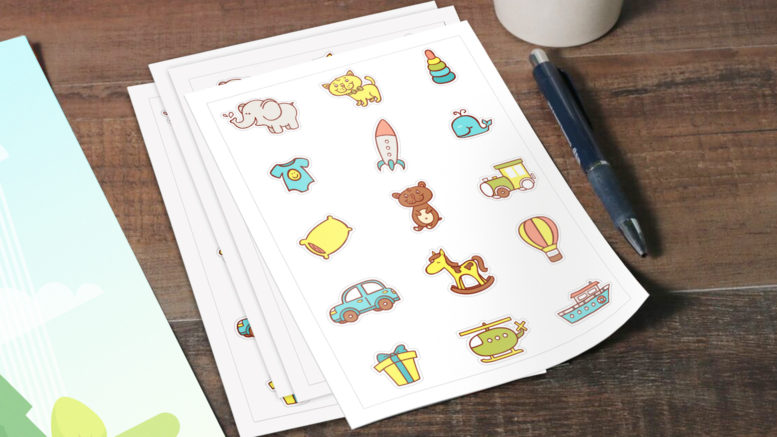
Before using a sticker printing service, you need to prepare the design file. This will involve making several sticker designs that will show up on one sheet. To begin creating several designs, sketch your ideas on a blank sheet using pencils and an eraser.

A handmade design gives you the freedom to play around with different ideas. If you’re satisfied with the sticker’s look, you could scan the hand-drawn design using a scanner. Make sure to scan the drawing at 300 DPI (dots per inch) so the details come out clearly when printed. The image or design you created will be used separately in your preferred desktop publishing or layout program.
A desktop publishing program such as Microsoft Publisher lets you place several sticker designs on one sheet. Follow the step-by-step guide below to know how to make stickers using publisher.

1. Click File > New. After creating a new file, Publisher will lead you to a list of template options. Choose labels.
2. Choose from one of the available label templates. If it fits the sheet size you’re after, then you can work from the blank page on the file. If not, you can click on Page Design then size. A window will pop up and let you adjust according to your preferred size.

3. Choose the multiple pages per sheet as the layout type. You can also change the Paper Size based on the sheet that the stickers will be printed on. You can choose from letter size, A4, or a custom option that lets you adjust accordingly. Name your new page size then click OK.

4. Click on your custom sticker label’s name under “More Blank Page sizes.” Select the name to open the customized sticker file.
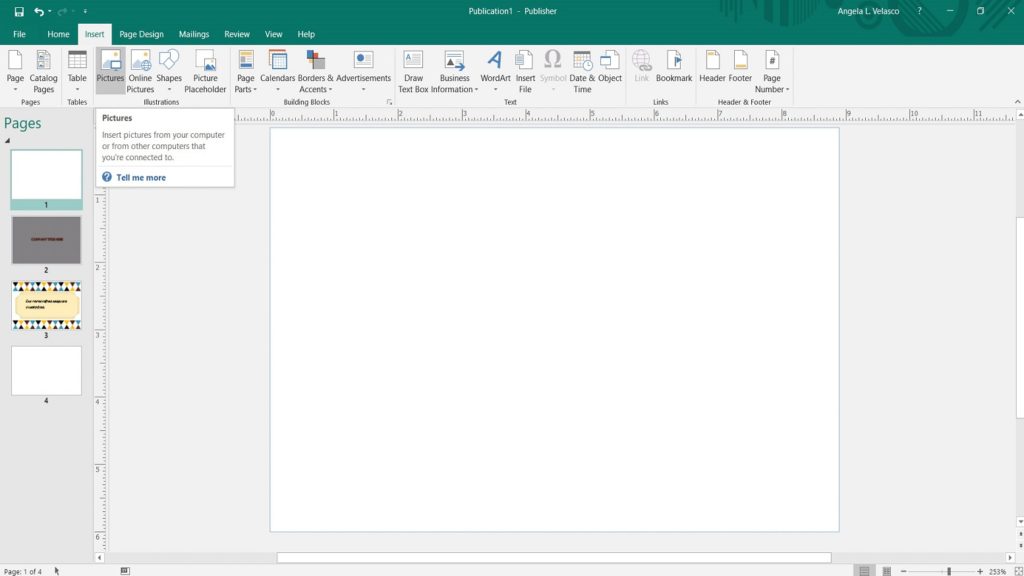
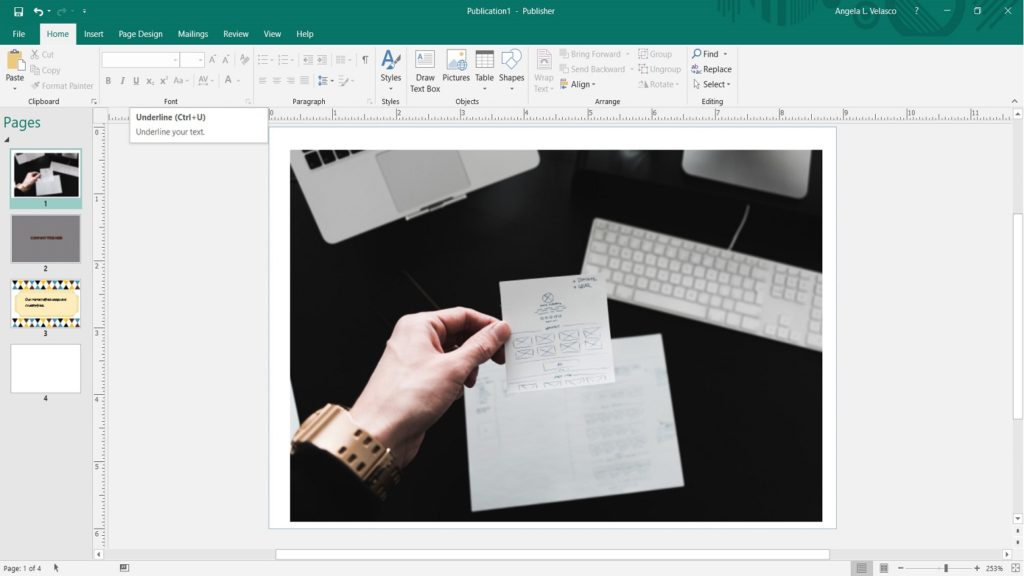
5. Click Insert and select Picture to place a ready-made design. If you have a pre-made image of your design, click “Insert” on the main menu and select “Picture.” Choose your logo or sticker design image so it is placed within the Publisher file. From there, you can scale the image according to the sticker size.
Alternatively, you can also choose and download from websites that offer free stock photos to include in your sticker design. For this tutorial, we’ll be using several images from these stock photo sites.
6. Create your own design.
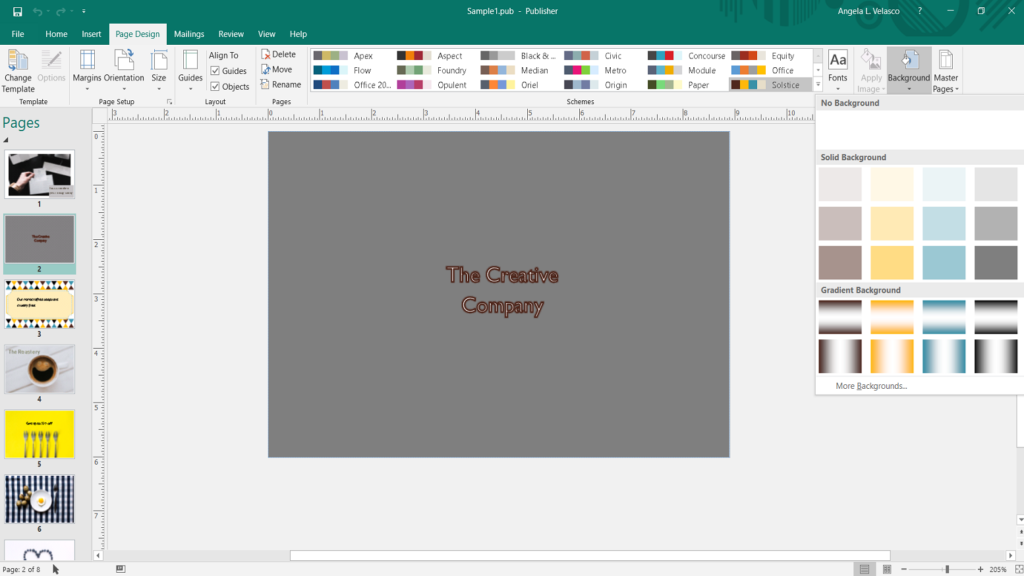
If you need a color or texture on your background, click on the “Background” button on your main menu. From there, you can choose among a solid, gradient, or other background options. The alternative background options include a picture, texture, or pattern fill. Select your preferred option.

Those who want to play around with Publisher’s tools can select Insert then choose from the design options, such as “Borders and Accents”.

You can also select a shape based either on your design or where the stickers will be placed. A circle shape, for example, fits for product packaging placed on round surfaces. A rectangle or square shape works best for stickers that will be given away or placed on boxes.
7. Use a text box to place text and other information. A text box lets you place information such as your company name, slogan, and contact details. You can adjust the text’s font, size, and scale according to your desired sticker design.
8. Click “Page” under the “Insert” menu. This will give the file a new space for your other sticker designs. Your number of pages should correspond to the number of stickers that fit in your chosen sheet size.
9. Group all the sticker design elements. Once you’ve finalized the colors, images, and the text on your design, click all the elements on your file. After you have selected everything from the text box to the background, right click on the page and select “group.”

How Do I Place Different Stickers on One Sheet Using Publisher?
Once you have completed all the sticker designs, you can save the file so each one appears on one page.
1. Click File > Print. Choose “Multiple Pages Per Sheet” under the “Settings” header.

2. Leave the Print Page and select “Save As.” Name your file and save it under PDF format. This is the safest option for printing. The resulting file will show your different designs on one page.
How Do I Print Stickers?

It may seem cheaper to print single stickers from your home printer. But this option incurs unplanned, additional expenses. You end up having to buy large amounts of paper. Ink and time are wasted as you test print each design, find a mistake, fix the file, and print it all over again.
It’s smarter to have professionals do your sticker printing. PrintRunner lets you upload your ready-made sticker designs and the printing process itself is left entirely to us. We also let you check the file before the stickers are delivered to your doorstep.
Making promotional products such as stickers may seem daunting at first. But with enough practice and a partnership with a printing professional, you’ll soon get the hang of the process and have customers using that sticker in no time.