


Help Center
Adobe Illustrator Help
Step 1: Creating a New Document
After launching your Illustrator application,
- Choose File > New... (See Figure 1)
Keyboard Shortcut: Ctrl+N for PC users, Cmd+N for Mac users
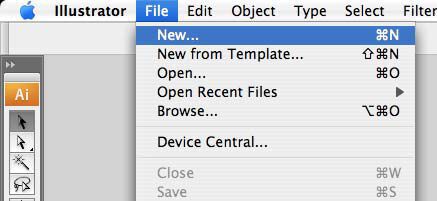
Figure 1
When the New Document window appears, (See Figure 2)
- Set the Resolution (raster effects) to 300 DPI.
- Set the Color Mode to CMYK.
- Set the Width & Height of your artwork to the final size of the product you are creating.
You can refer to this table for a quick list of product dimensions.
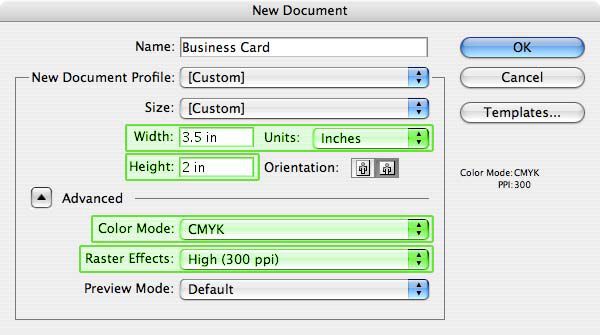
Figure 2
Step 2: Converting your Text to Outlines
Converting text to outlines will guarantee your job will not encounter delays due to missing fonts.
Unlock all text layers before selecting, to ensure they're included.
- From the Select menu, choose All. (See Figure 3)
- From the Type menu, choose Create Outlines. (See Figure 4)
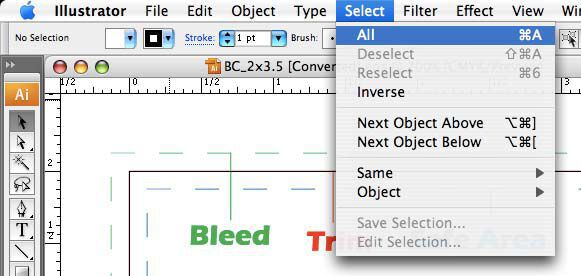
Figure 3
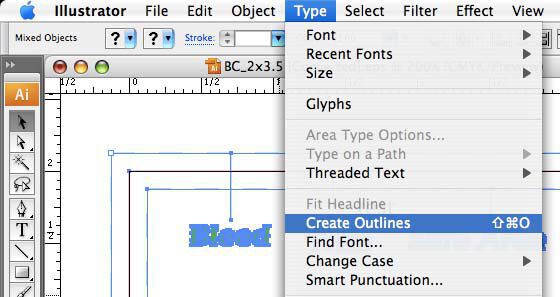
Figure 4
Step 3: Saving your Files
When you have completed your design, and checked it against the guidelines above,
- Choose File > Save As...
When the Save As box appears (See Figure 5)
- Enter a filename for your design.
- Select Illustrator EPS (*.eps) as your filetype.
- Click Save to proceed.
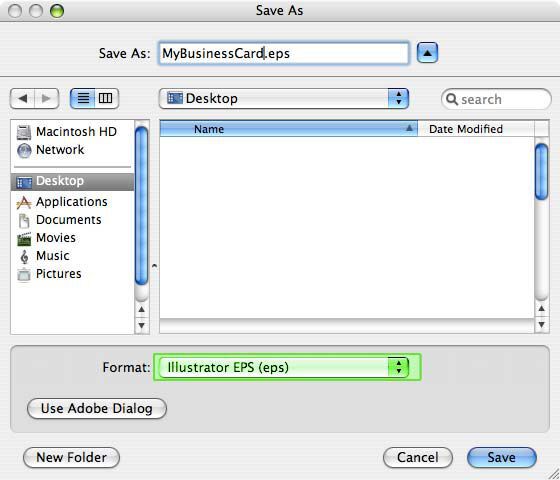
Figure 5
When the EPS Options window appears (See Figure 6)
- Select the highest EPS version your application will export.
- Set the Format to Macintosh (8-bit Color).
- Check the Include CMYK PostScript for RGB files box.
- Set the Adobe PostScript to LanguageLevel 3.
- Click OK and you're done.
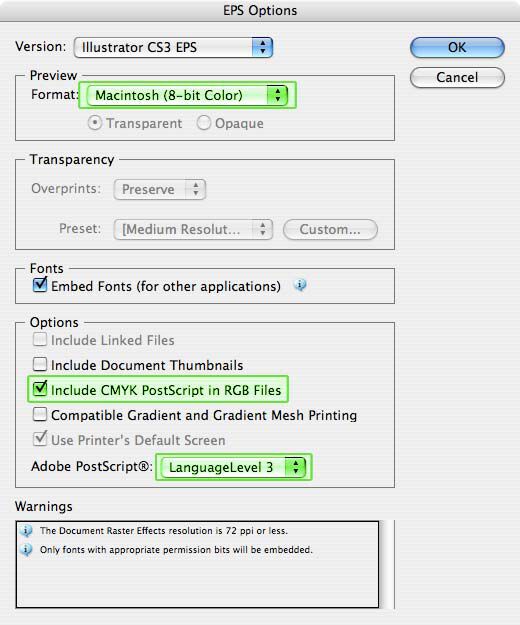
Figure 6